Formatting Text in Cells in MS Excel similar to MS Word!
Introduction
MS Excel is absolutely great for working with numbers but when it comes to formatting text in the Excel Cell, there is something which feels missing (or not directly accessible) in its text formatting capability especially if you are familiar with the MS Word. Although, the existing text formatting capabilities of MS Excel are enough in most circumstances but sometimes you do need something more for the sake of better presentation or readability.
In this article, I am going to share some cell formatting options available in Excel which you may find quite helpful. There are many folks who want to justify their text for symmetrical appearance. Some want their text to have MS Work like paragraph spacing. Some want to use Bullets or Indent text for enhanced readability. All these options are present in Excel to some extent placed under Cell Format Dialog Box and we will look at these options one by one.
Justifying your text in a Cell
If you are having lots of text in a cell then you may want to Justify the text of that Cell for better appearance just like you do in MS Word. However, Excel is keeping this option under the Cell formatting dialog box. To Justify your text follow the steps as under:
Select the range of Cells containing Text.
Right Click and then Select Format Cells or Press Ctrl + 1 to open the Format Dialog Box.
Select Alignment tab and then Select Justify under Horizontal Text Alignment.
Click OK.

Using Bullets in Excel Cells
There is no direct way to add bullets in Excel Cells the way you can do in MS Word. If you Google " How to add Bullets in Excel" , you may find myriad ways to add bullets. I prefer using the Combination of Alt Codes and Custom Number Formatting to add the bullets.
Alt Codes: It's a way to enter special characters which do not have a dedicated key on your Keyboard. To enter a combination, you have to press the Alt Key and the code in your Numpad. For example, if you enter Alt + 0149 then it will display a solid bullet • . The are many combination and you can google to find the entire list, I am listing the most common ones below:
|
|||||||||||||||||
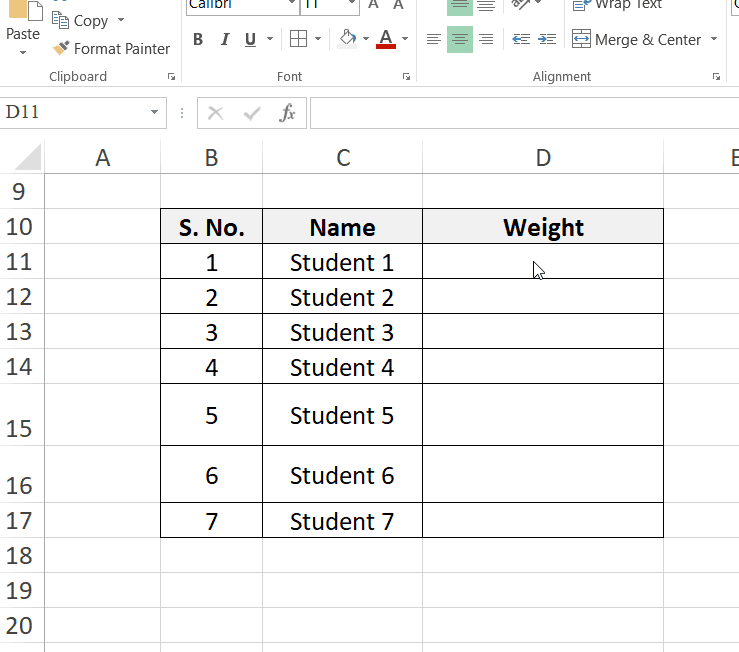
Custom Formatting : Excel allows you to format the underlying value to suit your needs such as it may allow you to add currency symbol to numbers without changing actual value. For instance, suppose you are measuring the weight of some students and every time you measure the weight you put the value in Excel Cell but at the same time you also want to suffix "Kg" with each entry. If you type "Kg" with every entry then you are effectively changing the data type to Text and then you cannot perform any calculation such as average weight of the group. Here, the custom number formatting helps in allowing to suffix "Kg" to each entry without changing the underlying number. The following gif explains the process below:
Note: Hash (#) is used to represent numbers in Custom Formatting in Excel.
Now with the some basic understanding of Custom Formatting and Alt Codes, we are ready to implement Bullets in Excel Cells. You may have already guessed that by simply placing your Alt Code Symbol before the Data Type will prefix the symbol automatically.
The following gif gives an easy way for you to see how we can add bullets to Excel Cell:

Note 1: @ represents text in the Custom Formatting in Excel. If you want to add bullets to the numbers then simply replace @ with #.
Note 2: You can use any other valid alt code for the bullets. Just press the Alt Key and press the the valid alt code. You can Google for the whole list of Alt Codes.
Inserting Indents in Excel Cells
There is a default alignment in MS Excel for different data types. The Numerical Value if Right Aligned, The Text value is Left aligned and the Logical values are Center Aligned.
It is always preferred to use the default alignment as it help identifying data types. If you are using default alignment then you may easily check for Numerical value (Right aligned) accidentally added as Text (Left aligned).
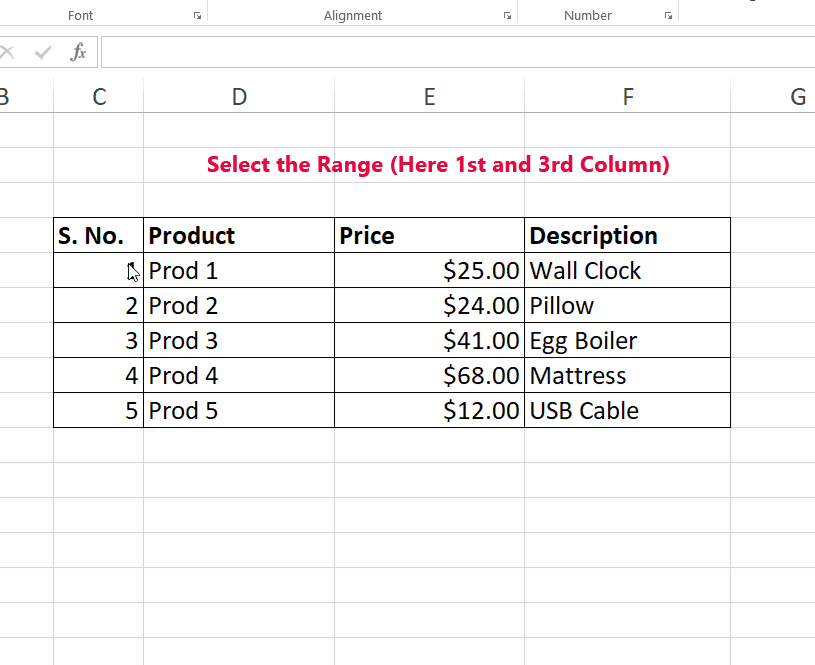
Using the default alignment may make the presentation of data a little less readable in some cases as shown below:

The above table uses the default alignment and you can immediately see the S.No. and Product are nestled together and same is the case with Price and Description thereby leaving a gap in the middle.
Here, you can insert Right Indents to 1st and 3rd Columns which will give better readability and also maintain the default alignment.
To insert the indents, follow the steps shown below:
Note: There is option for Left Indent also. If you want to Indent on both sides (Left and Right) then use Distributed Indent Option under the Horizontal Alignment Tab.
Adding Paragraph spacing like appearance to Excel Cells
Rarely there is a requirement to add the vertical spacing in the Cells but sometimes, it may help you enhance readability. It only gives the appearance of paragraph spacing. Essentially, you are just justifying the Cell contents vertically. The following explains the process for adding vertical spacing:

****
I hope the above methods may increase your productivity. If you have any more ideas then please share with us.


Comments
Post a Comment